A Toolbox custom property can be linked to SOLIDWORKS materials library using the list option.

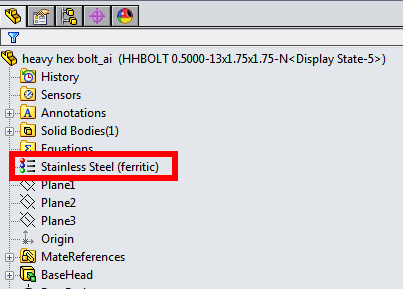
SOLIDWORKS material in a Toolbox part
The material selected in the Toolbox configurator gets applied to the Toolbox part and the custom property can be displayed in the BOM. Only one Toolbox property can be linked to SOLIDWORKS materials library.

Toolbox material in BOM
Adding a Toolbox Custom Property
Custom properties are added to Toolbox parts using Toolbox Settings. This dialog is accessed from Tools > Options > Hole Wizard/Toolbox > Configure or from the Start menu (e.g. Start > SolidWorks 2025 > SolidWorks Tools > Toolbox Settings 2025).
- Go to Toolbox Settings > Customize Hardware (step 2) and select the standard, category or type that require new property
- Select the icon for ‘Add new Custom Property’ to bring up the Custom Property Definition dialog
- Enter the property name (e.g. Material)
- Select the ‘List’ button and note that the option ‘Link to SW material’ appears
- Select the ‘List’ option and click ‘Select’ to bring up the list of SOLIDWORKS materials available
- Select SolidWorks material and enter the name for BOM display
- Repeat the previous step until the list of Toolbox materials is complete
- Select the options ‘Add as configuration specific property’ and ‘Each value for this property requires a new configuration name.’ Fasteners of the same size with different materials can be added only if separate configurations for each material are created.
- Confirm OK and save Toolbox changes

Linking Toolbox property to SOLIDWORKS materials
Any materials added to the list will appear in the Toolbox configurator when the part is created or edited.

Toolbox property linked to SOLIDWORKS materials